And, YAAP (Yet Another Arduino Project), the Micro Arduino Gaming Platform Interface. Finally I’ve done the “shareable value” part of putting together an instructables for how to make the retro-game controller I built for (and with) Will for Christmas. I love this video of Will demoing it:
Arduino
Das Blinken Bonken!
Seems like end of the year is DYI electronics projects time for me as the Sound Alarm happened round this time last year too. Well, I’ve been having a ball making Arduino stuff, this time as Christmas presents. This time I got my documentation act together even more and made a construction tutorial on instructables too! The code for Das Blinken Bonken is on github, and here’s a video of Jesse showing off the game:
Arduino Sound Alarm
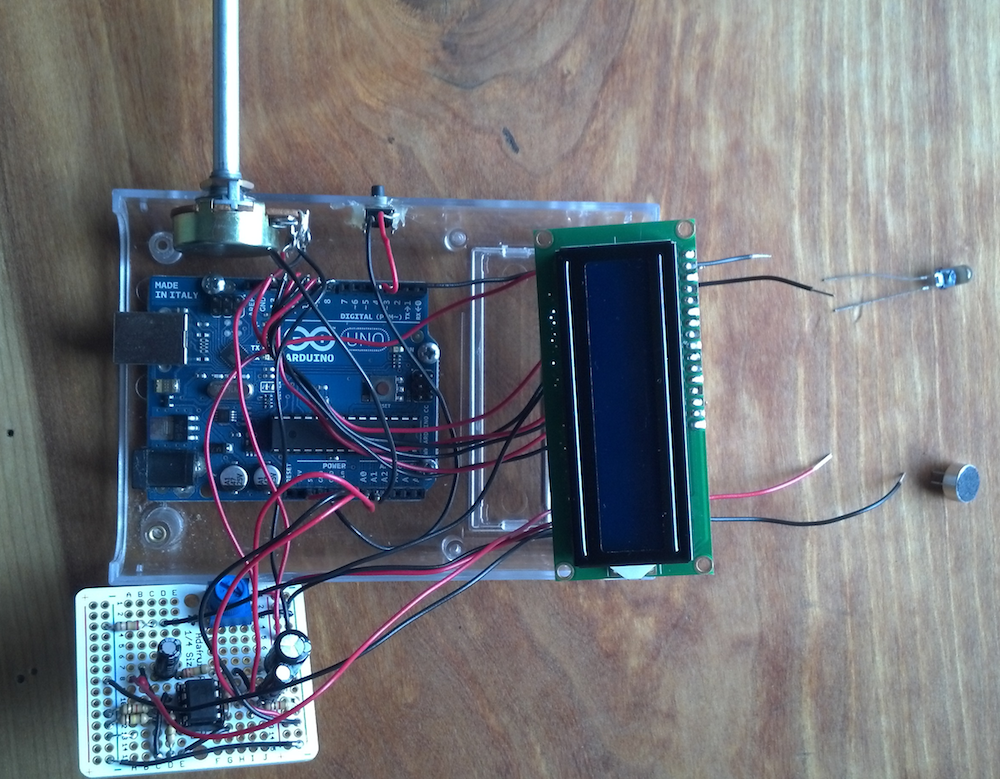
I’ve just completed my second Arduino project, a sound level detector which sets off an “alarm” when there’s the sound level is to high for too long. I built it for use in a school that wants to provide visual feedback to students when they are being too loud. The “alarm” is a string of flashing LEDs that’s controlled by an IR-remote, which I reverse engineered using the the arduino itself and the excellent IRremote library to figure out which codes activate the LED string. The IRremote library includes an example that dumps the codes and code types that remotes typically use. So I just ran that example with my arduino hooked up to an IR detector from adafruit. It was really quite easy to do.
It’s been a fun project because it’s quite flexible and configurable. Here’s a short video of the finished product:
For anyone who wants to build one of these here’s a bread-board diagram that I made using the very cool Fritzing package:
The Adruino sketch that powers this is available on github.
Here are some details on the circuitry. The sound detector is based on the ZX-Sound board. Here’s a nice post on the arduino.cc site that I used as my starting place for building the sound part of this board. The video helpfully includes a parts list which I sourced from Allied electronics, all except for the mic. The LCD is the $10 16×2 from Adafruit (their tutorial on wiring it up was great), and I also used their electret microphone. One note about the microphone is that it’s polarity matters. If you get it in backwards, it’s much less sensitive. I found this out purely by accident! I also used their IR LED.
Here are some photos of assembling the project.
First the prototyping phase:
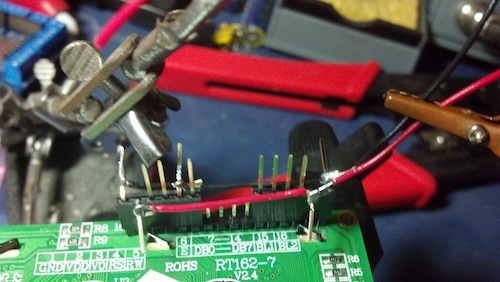
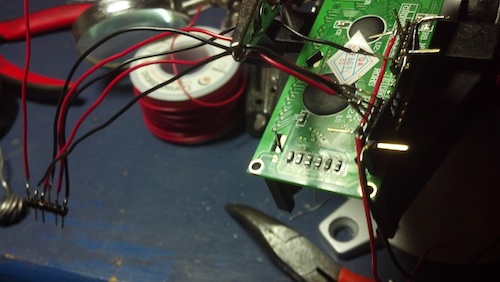
Then building the connector for the LCD:
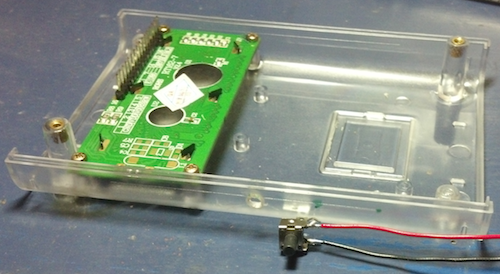
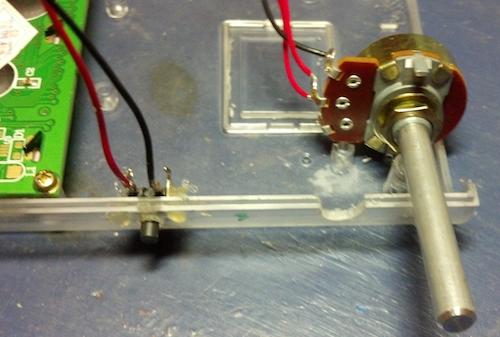
Then drilling holes and installing the configuration controls (push-button and pot)
Then assembling and soldering the board with the sound circuit and the trim pot for the LCD as well as the resistor for the IR LED.
Finally, just before enclosing..
The completed project. Note that I left the mic and IR LED lose because I’m not sure exactly where the alarm is going to be installed and the way they face could matter.
Some lessons learned:
- When soldering a header for an LCD remember to take into account that if you copy the wiring order as you have plugged it into the bread-board, you will actually be doing it backwards because the connecter will be attached upside-down!
- You will need to drill a little extra hole in your case to accept the tab on the pot that keeps it from rotating when you spin the shaft.
- Electret microphones have a polarity.
- Hot-glue is great for attaching push-buttons.
- Ask you children for UI advice! Will had the excellent idea of using the setup-pot to spin between the different settings. In the original code I had it so you had to press the button to toggle between the setup parameters and then do a long-press to actually set one. The way it ended up is much better.
Parts List:
Arduino Uno: https://www.adafruit.com/products/50 ($29.95)
Makershed Arduino Enclosure: http://www.makershed.com/Clear_Enclosure_for_Arduino_p/mkad40.htm ($15.00)
9V powersupply: https://www.adafruit.com/products/63 ($6.95)
100K Potentiometer: Radioshack ($1.69)
pushbutton switch: Radioshack ($.99)
Breadboard PCB: https://www.adafruit.com/products/589 ($3.00)
Electret Mic: https://www.adafruit.com/products/1064 ($1.50)
IR LED: https://www.adafruit.com/products/387 ($.75)
LCD 2×16: https://www.adafruit.com/products/181 ($9.95)
Components: (~$5)
- resistors: 1k ohm x 2; 100k ohm x 2; 12 ohm; 39k ohm; 22k ohm; 230 ohm (for IR led)
- capacitors: 470uf 16v; 0.1uf 50v; 22uf 25v
- Dual op amp IC: TLC272
Total Price: ~$70


